|
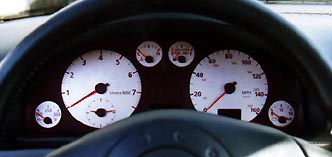
| Hmmm...I wonder... |
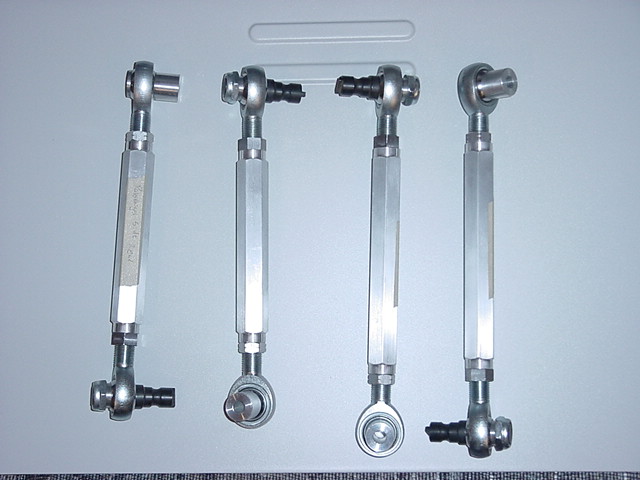 |
| Adjustable Upper Control Arms |
 |
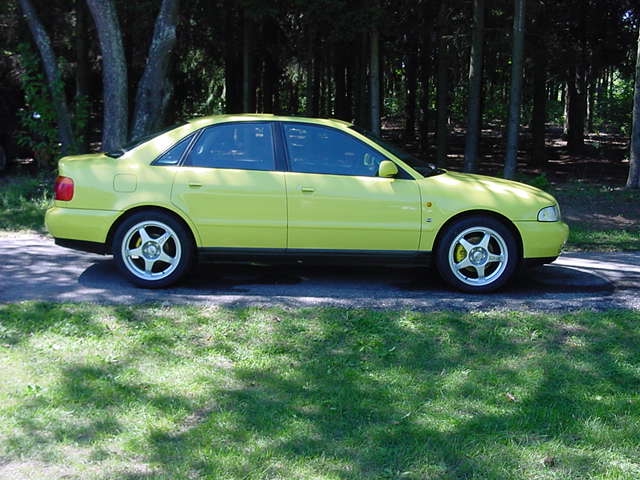 |
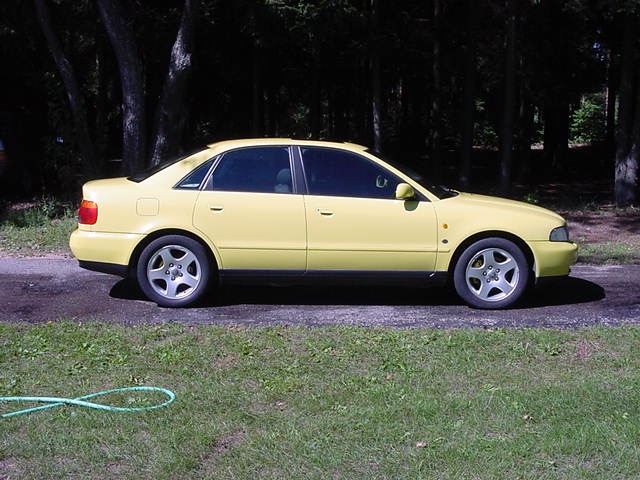
| Before | After |
 |
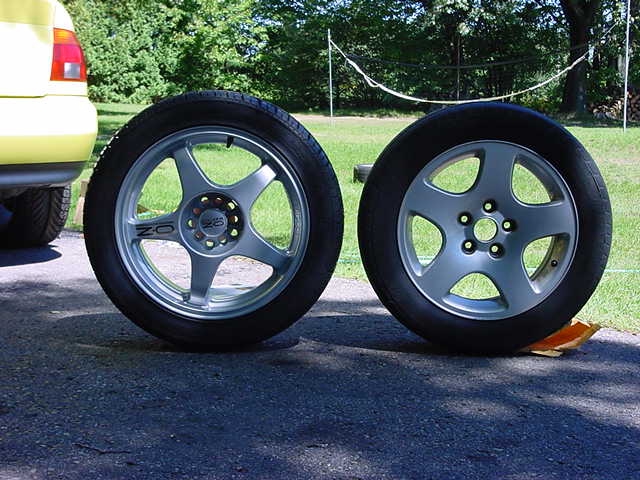 |
| Height comparison | side by side |
 |
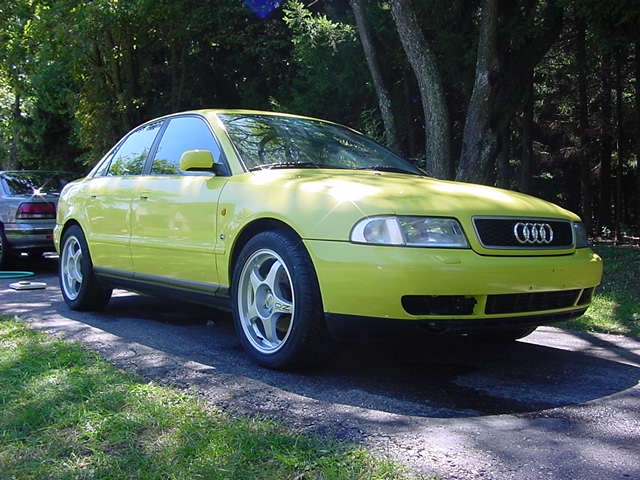 |
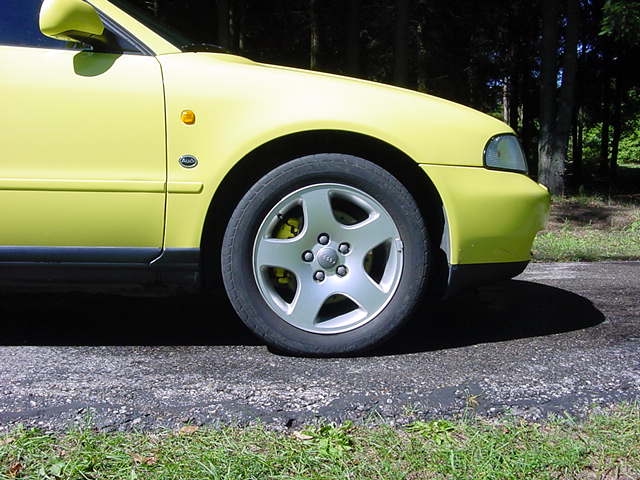
| Stock front angle | OZ front angle |
 |
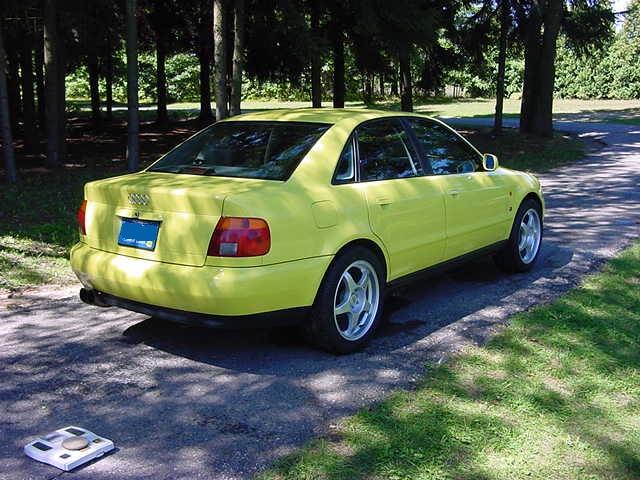 |
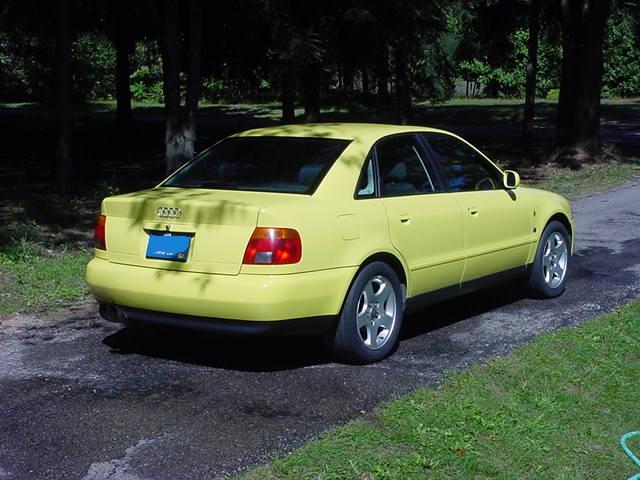
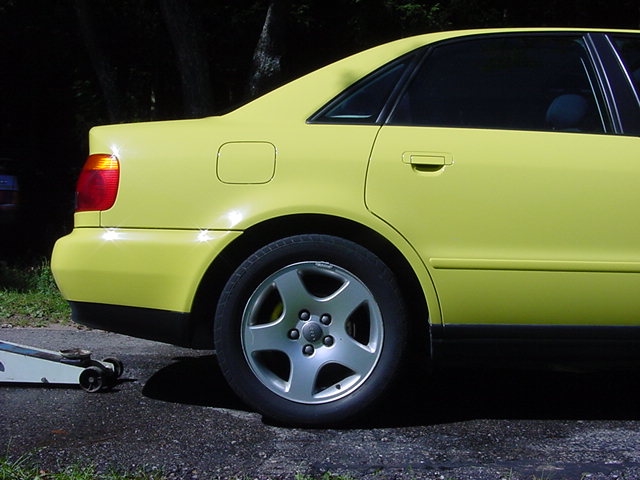
| Stock rear angle | OZ rear angle |
 |
 |
| Stock front | OZ front |
 |
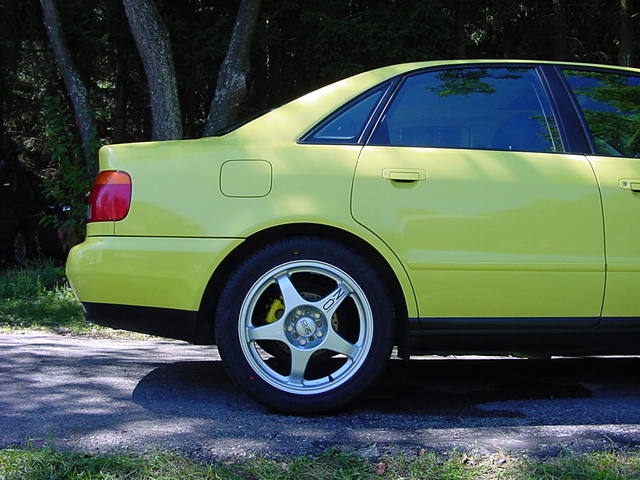 |
| Stock rear | OZ rear |
 |
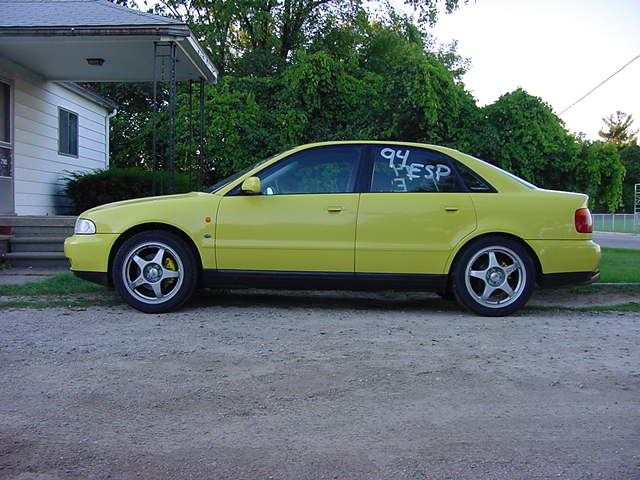 |
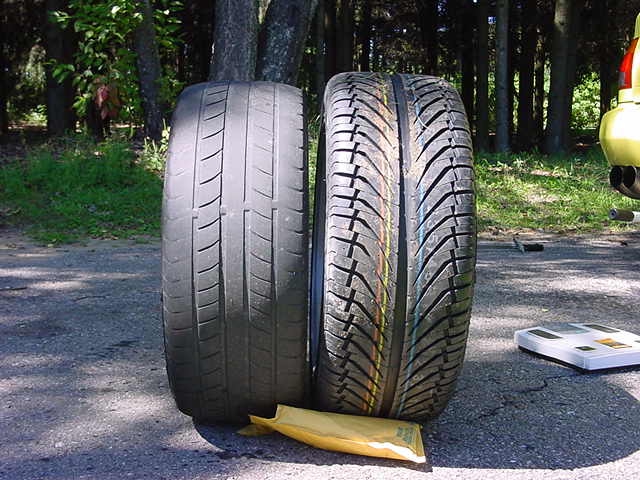
| Wheel close-up | Another side shot |
 |
 |
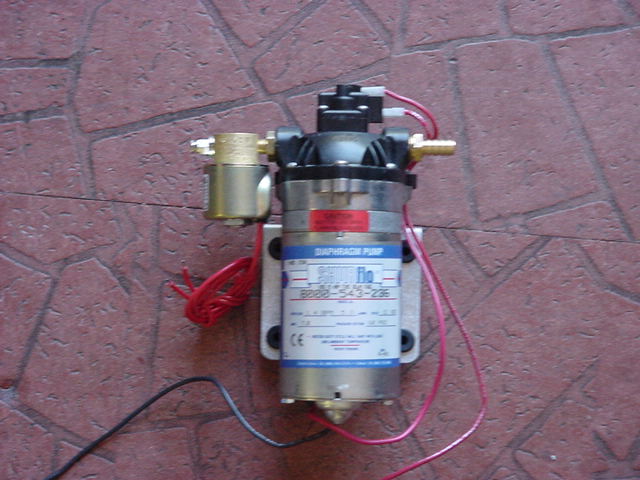
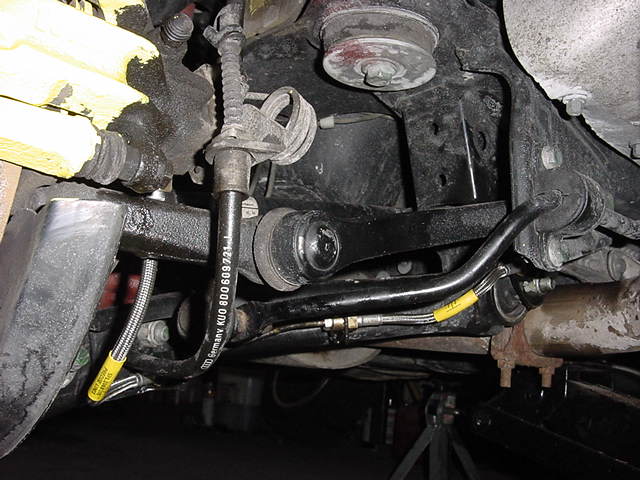
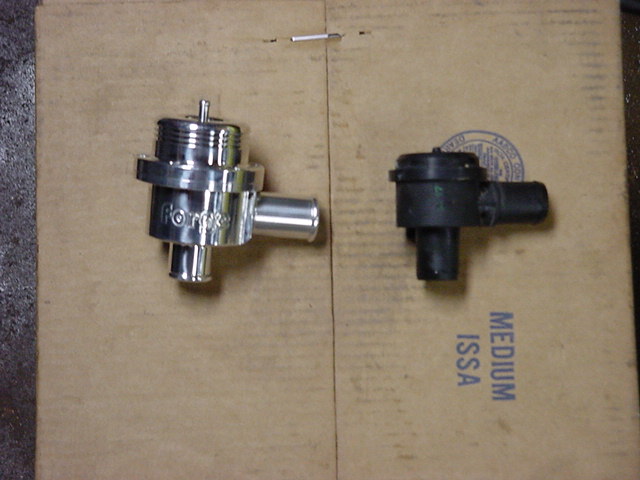
| Pump | Pump Feed Tap |
 |
 |
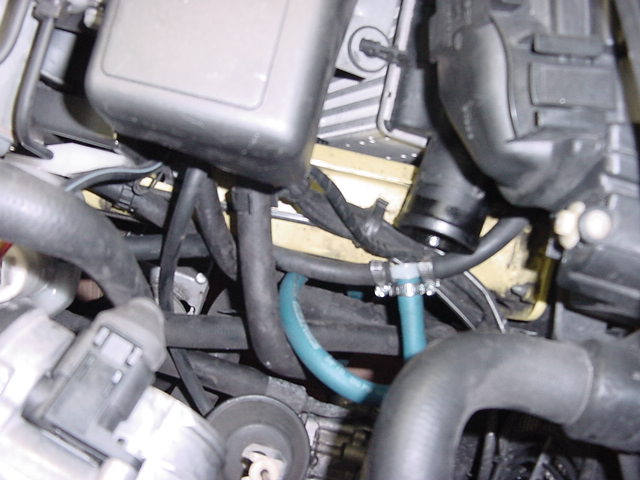
| TB Hose | Plumbed |
 |
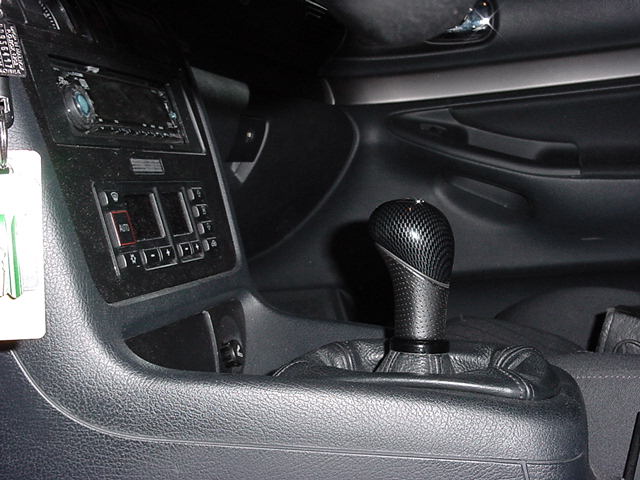 |
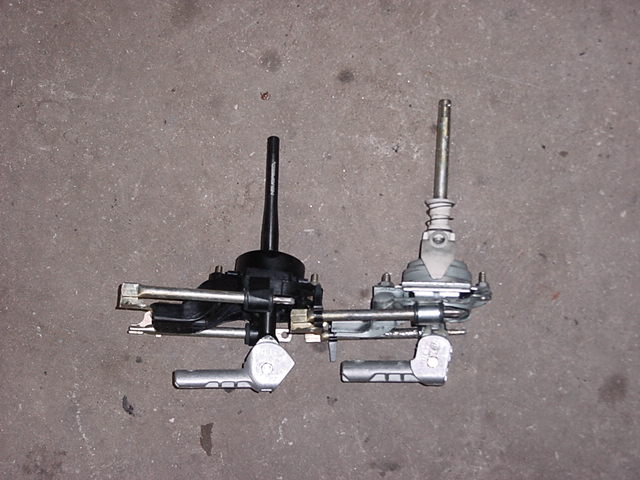
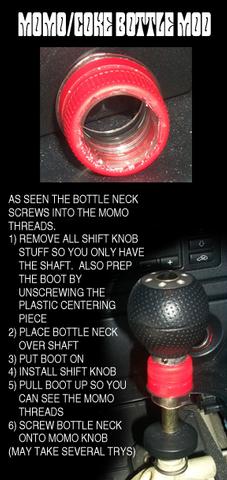
| Shifter comparisons | Momo shift knob installed |
 |
 |
 |
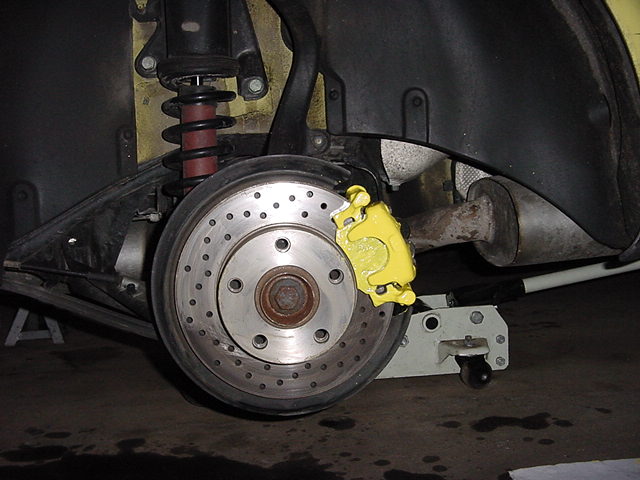
| Front brakes | Rear brakes | Rear stainless lines |
| Zimmerman Cross Drilled Rotors - Front | $65.00 ea |
| Zimmerman Cross Drilled Rotors - Rear | $59.00 ea |
| Mintex "Red Box" Brake Pads - Front | $51.00 |
| Mintex "Red Box" Brake Pads - Rear | $34.75 |
| Stainless Steel Brake Lines | $95.00 |
| Pressure Brake Bleeder | $44.00 |
 |
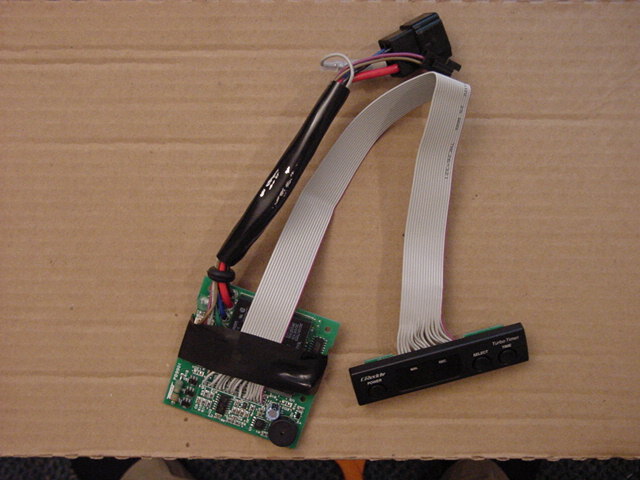 |
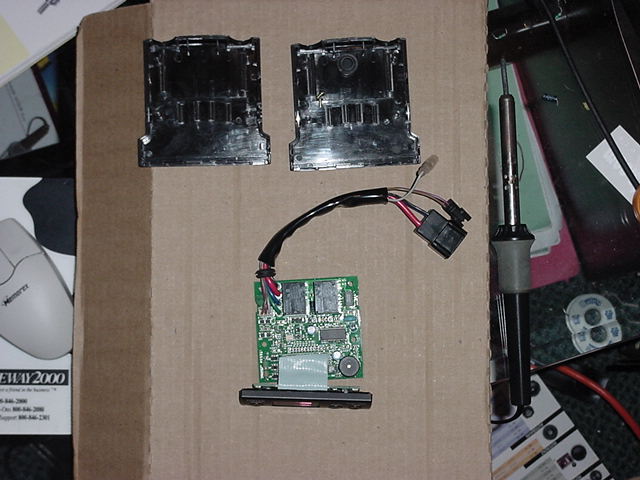
| Initial disassembly | View |
 |
 |
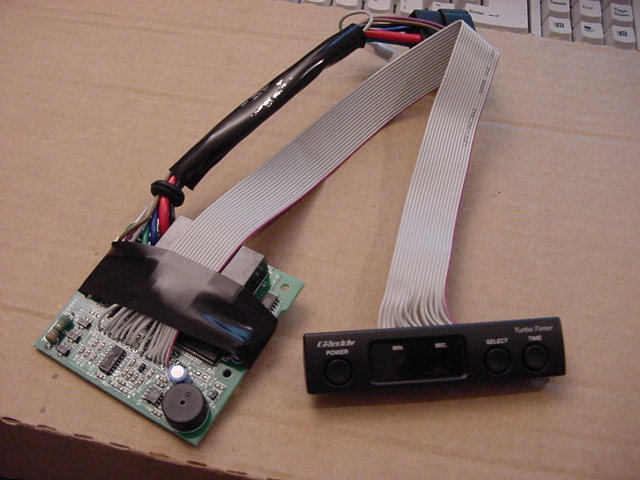
| Another view | Finished |
 |
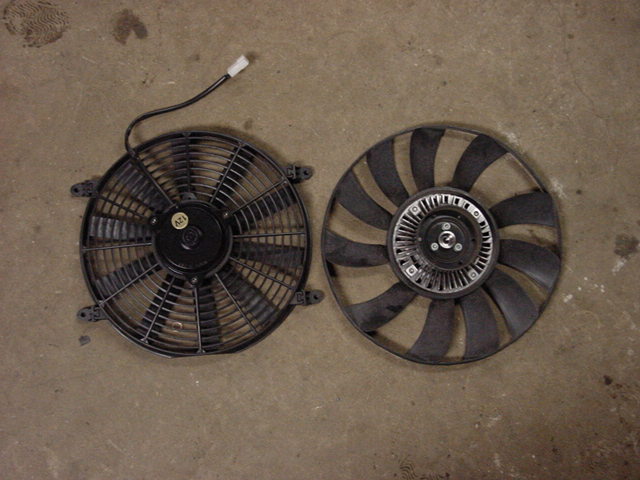 |
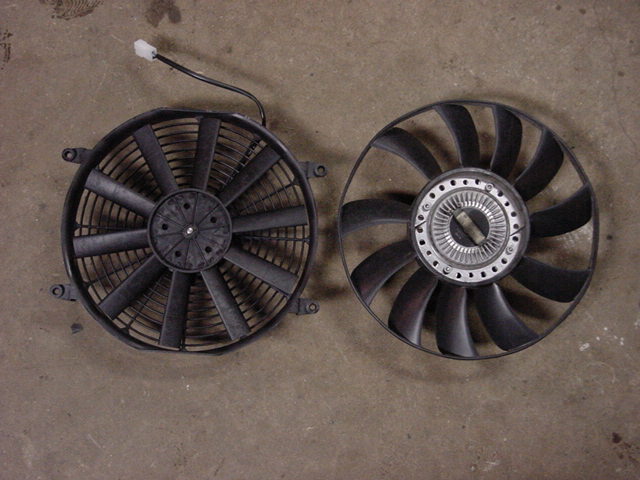
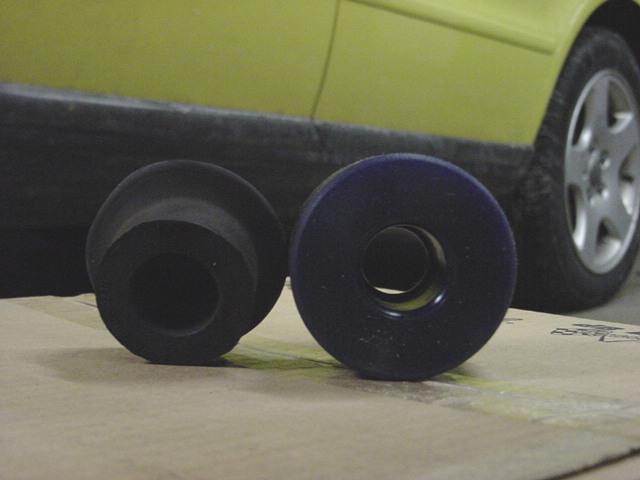
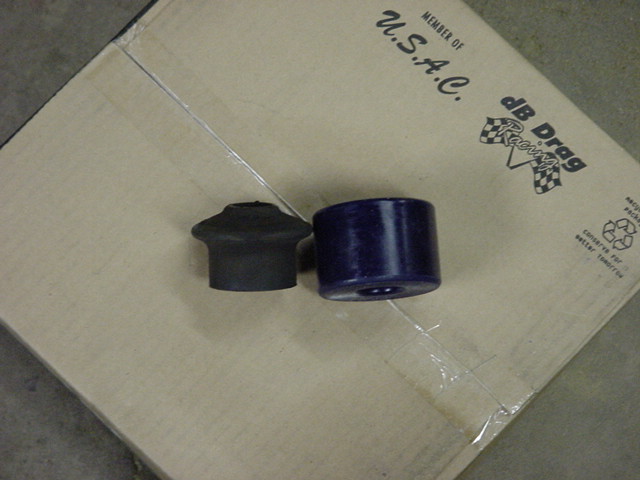
| Electric vs. belt driven front | Electric vs. belt driven rear |
 |
 |
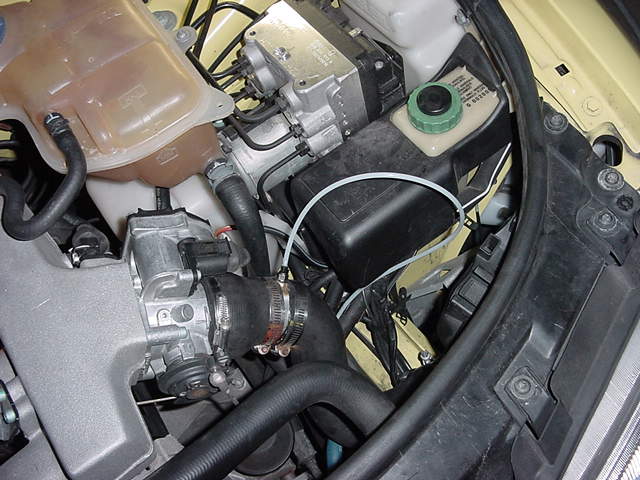
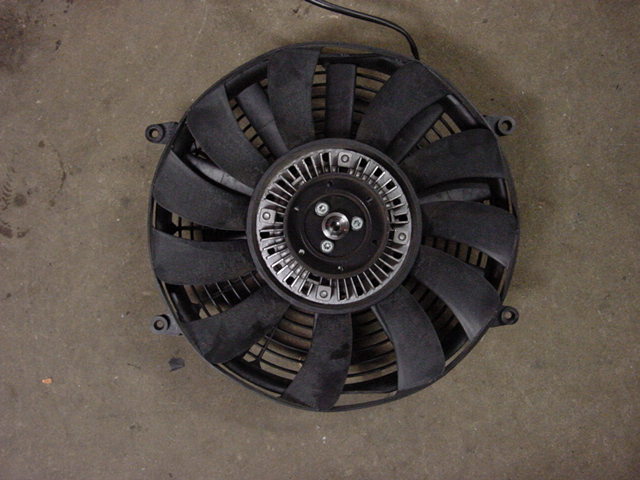
| Size Comparison | Installed (almost) |
 |
 |
| Front view | Top view |
 |
 |
| Side view | Another side view |
 |
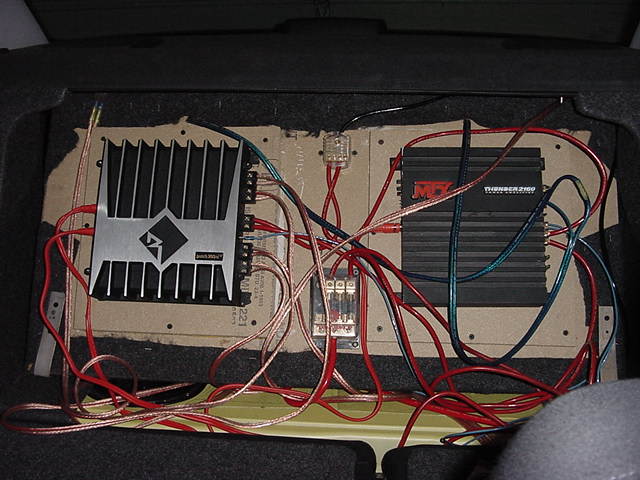 |
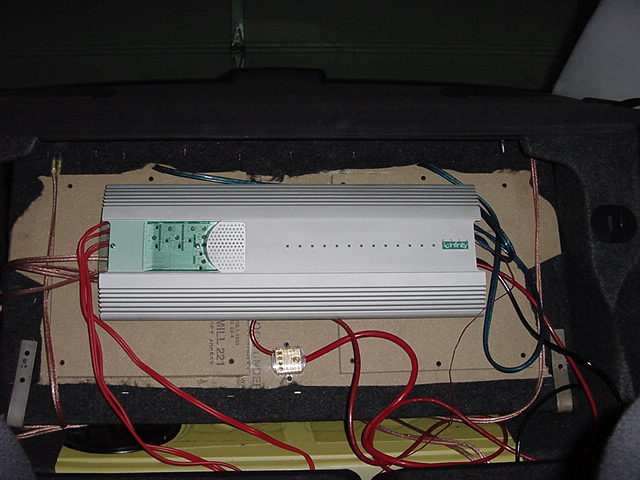
| Original amp setup | New temporary setup |
 |
 |
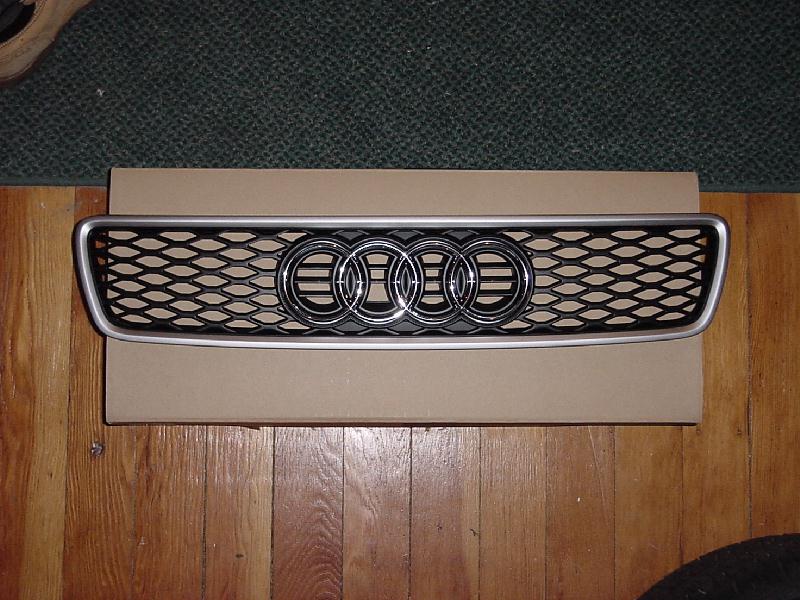
| Grill Uninstalled | Bad pic of installed grill |